How to lay tiles in a bathroom
Tiling a bathroom is a challenging DIY project, but one that can be completed with time and patience.
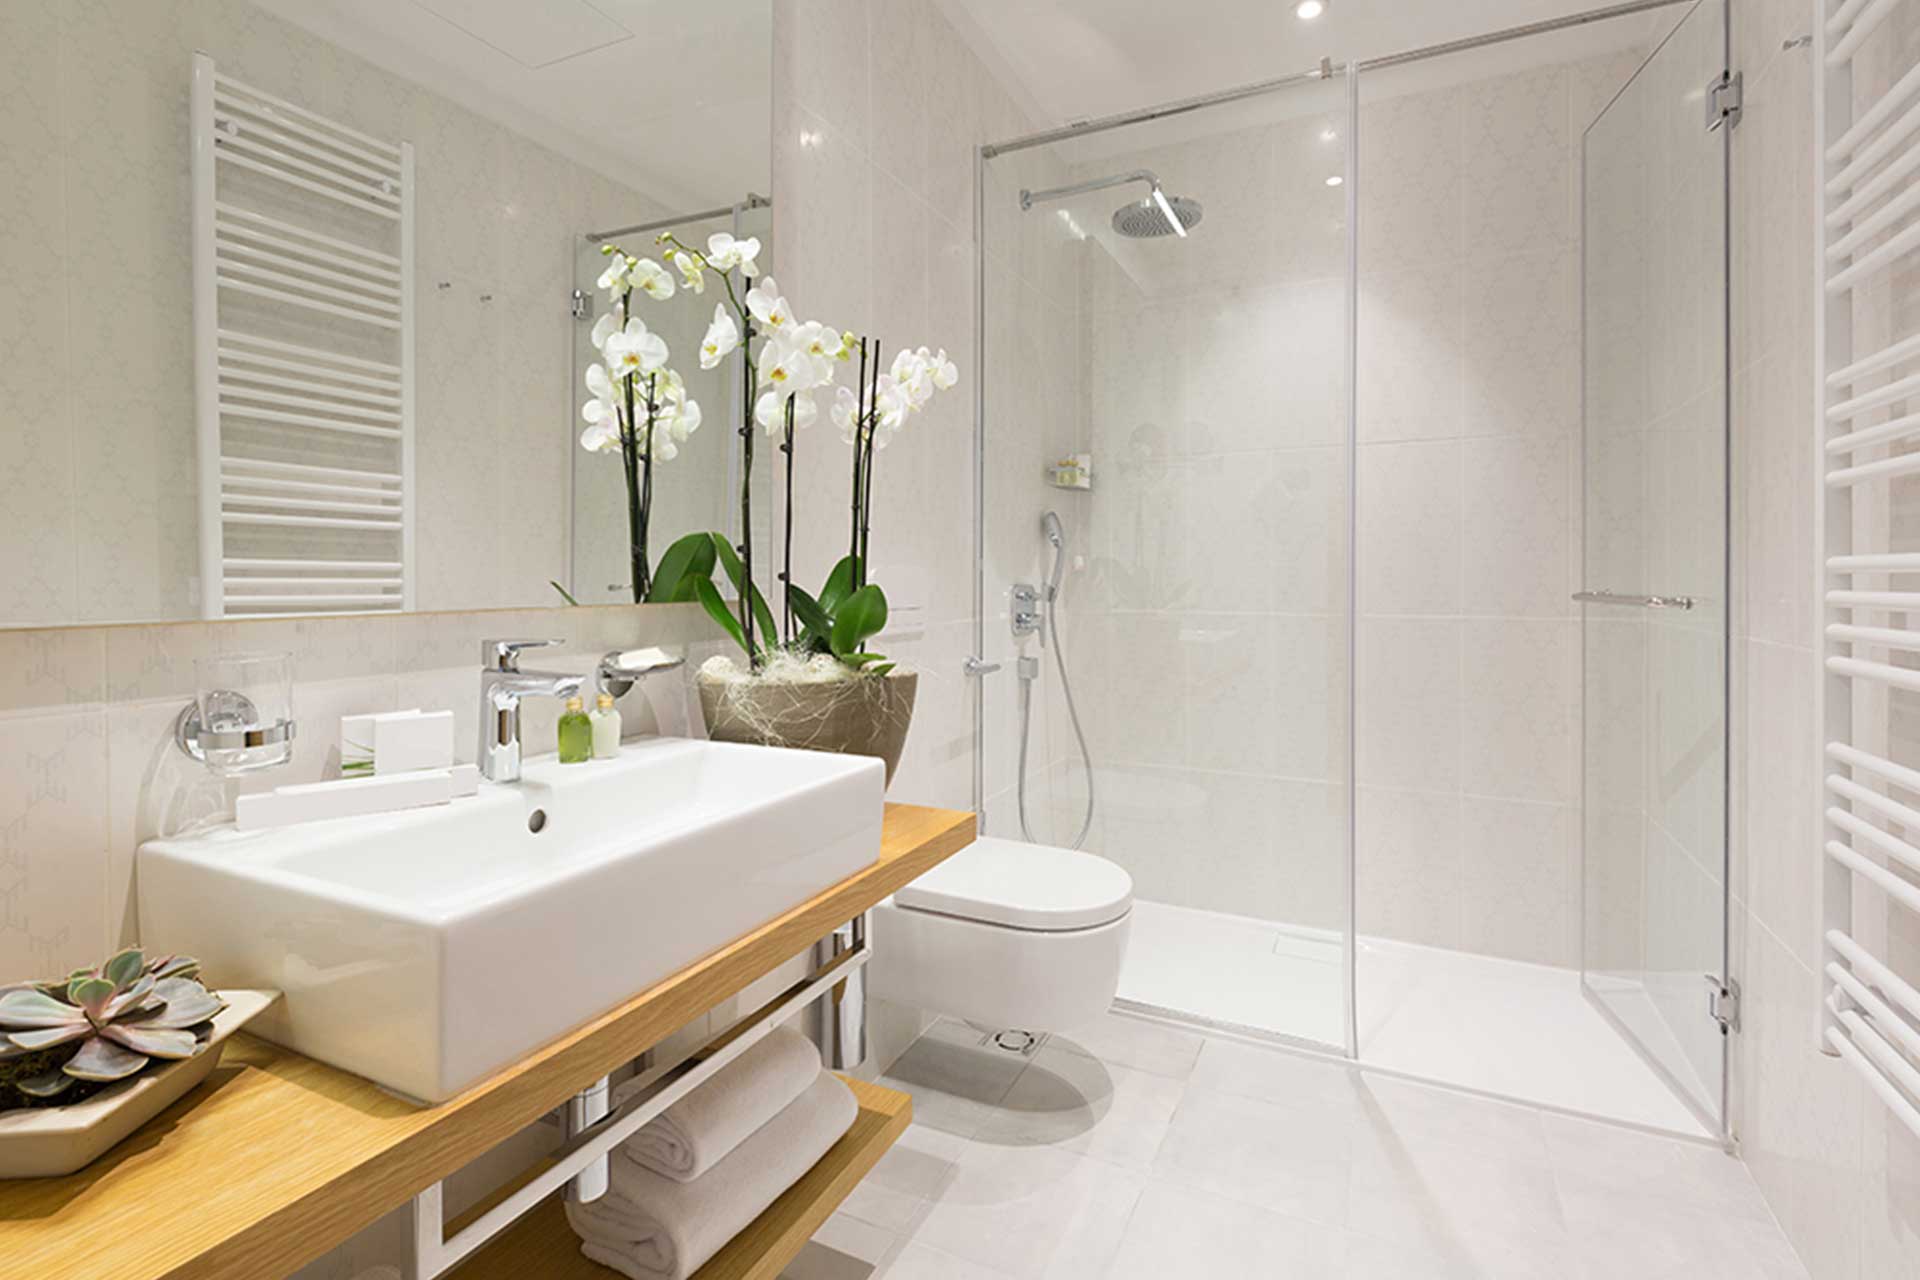
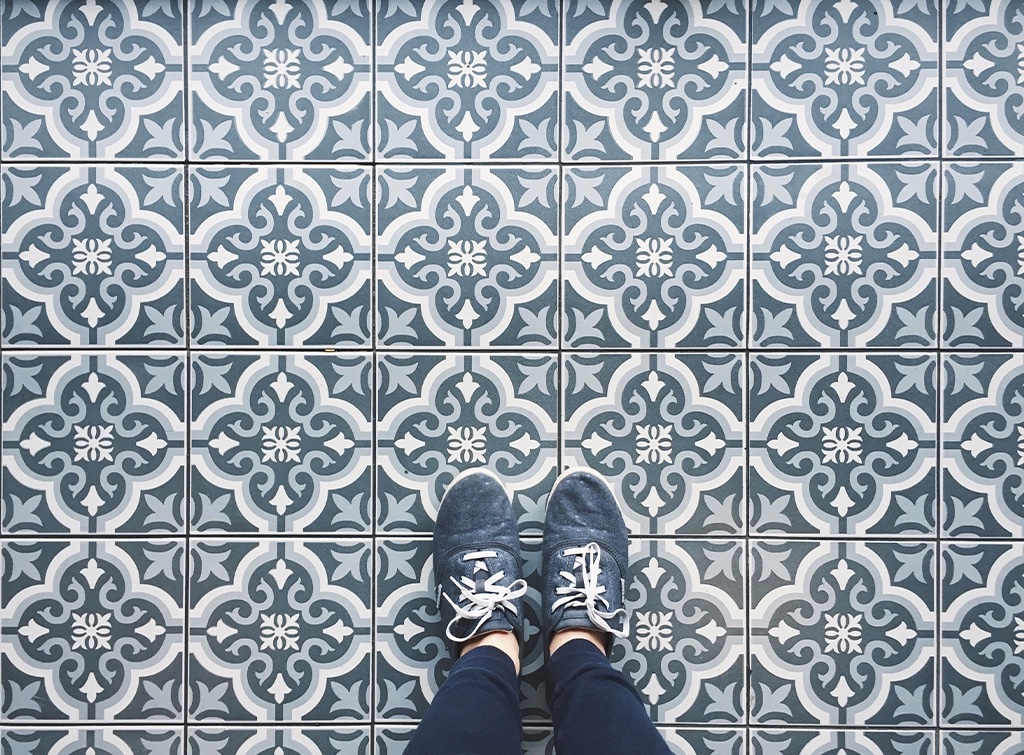
Tiles are a popular wall and floor covering choice for a bathroom as they are easy to clean and are highly durable. Plus there are so many styles to choose from to match your interior style.
Tools required for the job:
- Tiles of your choice
- Tile adhesive
- Grout
- Tape measure
- Pencil
- Spirit level
- Sponge
- Tile cutter
- Spacers
- Paddle mixer
- Trowel
- Grout float
- Soapy water
- Cloth
- Bathroom sealant
- Chisel
- Hammer
For best results, we would always recommend hiring a professional.
Bathroom tiling guide
Before tiling your bathroom, make a plan on what walls you’d like to tile.
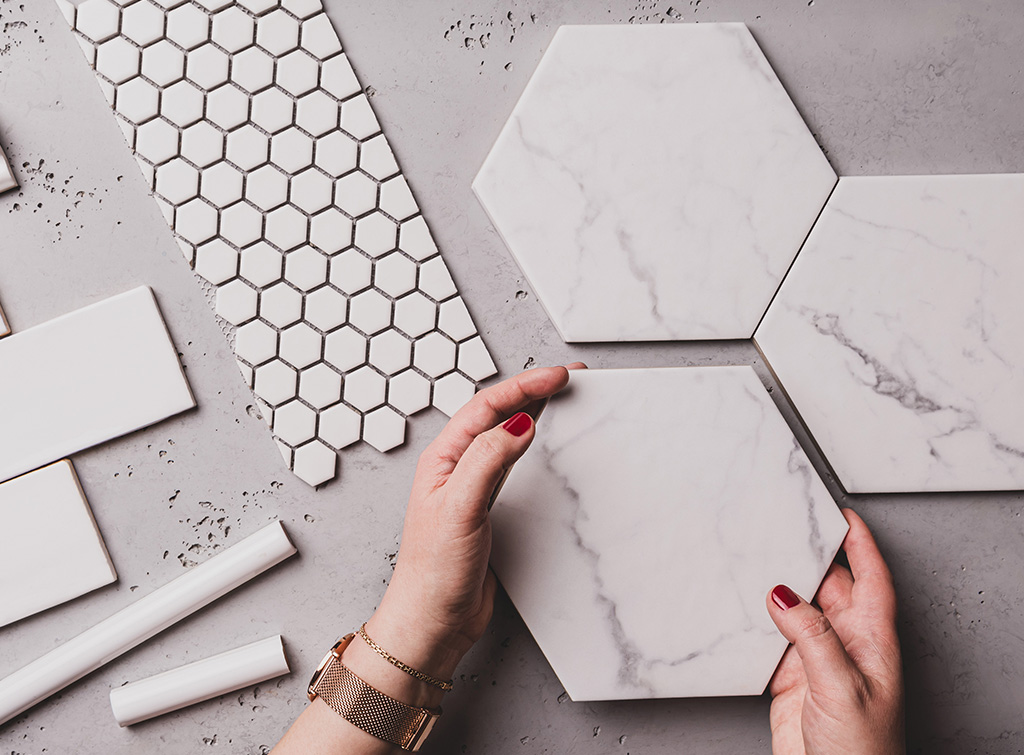
If your tiles are irregular or patterned, it’s definitely worth laying them out first to practice and to make sure you have the perfect configuration
Tiling a bathroom and bathroom tiling tips
Step 1: Prepare your bathroom walls
With a solid idea of what you want your tiling project to look like, it’s time to prepare your walls. Begin by cleaning all of the walls and wiping them dry with a cloth.
Step 2: Set out your tiles
One of the most important tips for tiling is starting from the middle of a wall and working your way out.
If you’ve got the space, set out the tiles that you’re wanting to apply to the wall on the floor then copy these measurements onto your wall.
Make sure to use a spirit level to make sure your tiles will be level.
Step 3: Cut your tiles to fit
Now you’ve measured everything up, you’ve probably come to the realisation that the tiles on the edges of the walls will need to be cut. This is where your tile cutter comes in.
Mark the point on the tile where it needs to be cut with a pencil. Put on your safety gloves and goggles and proceed to cut the tile with your tile cutter.
Once all of your tiles are cut, it’s time to start applying them to the wall.
Step 4: Apply your tiles
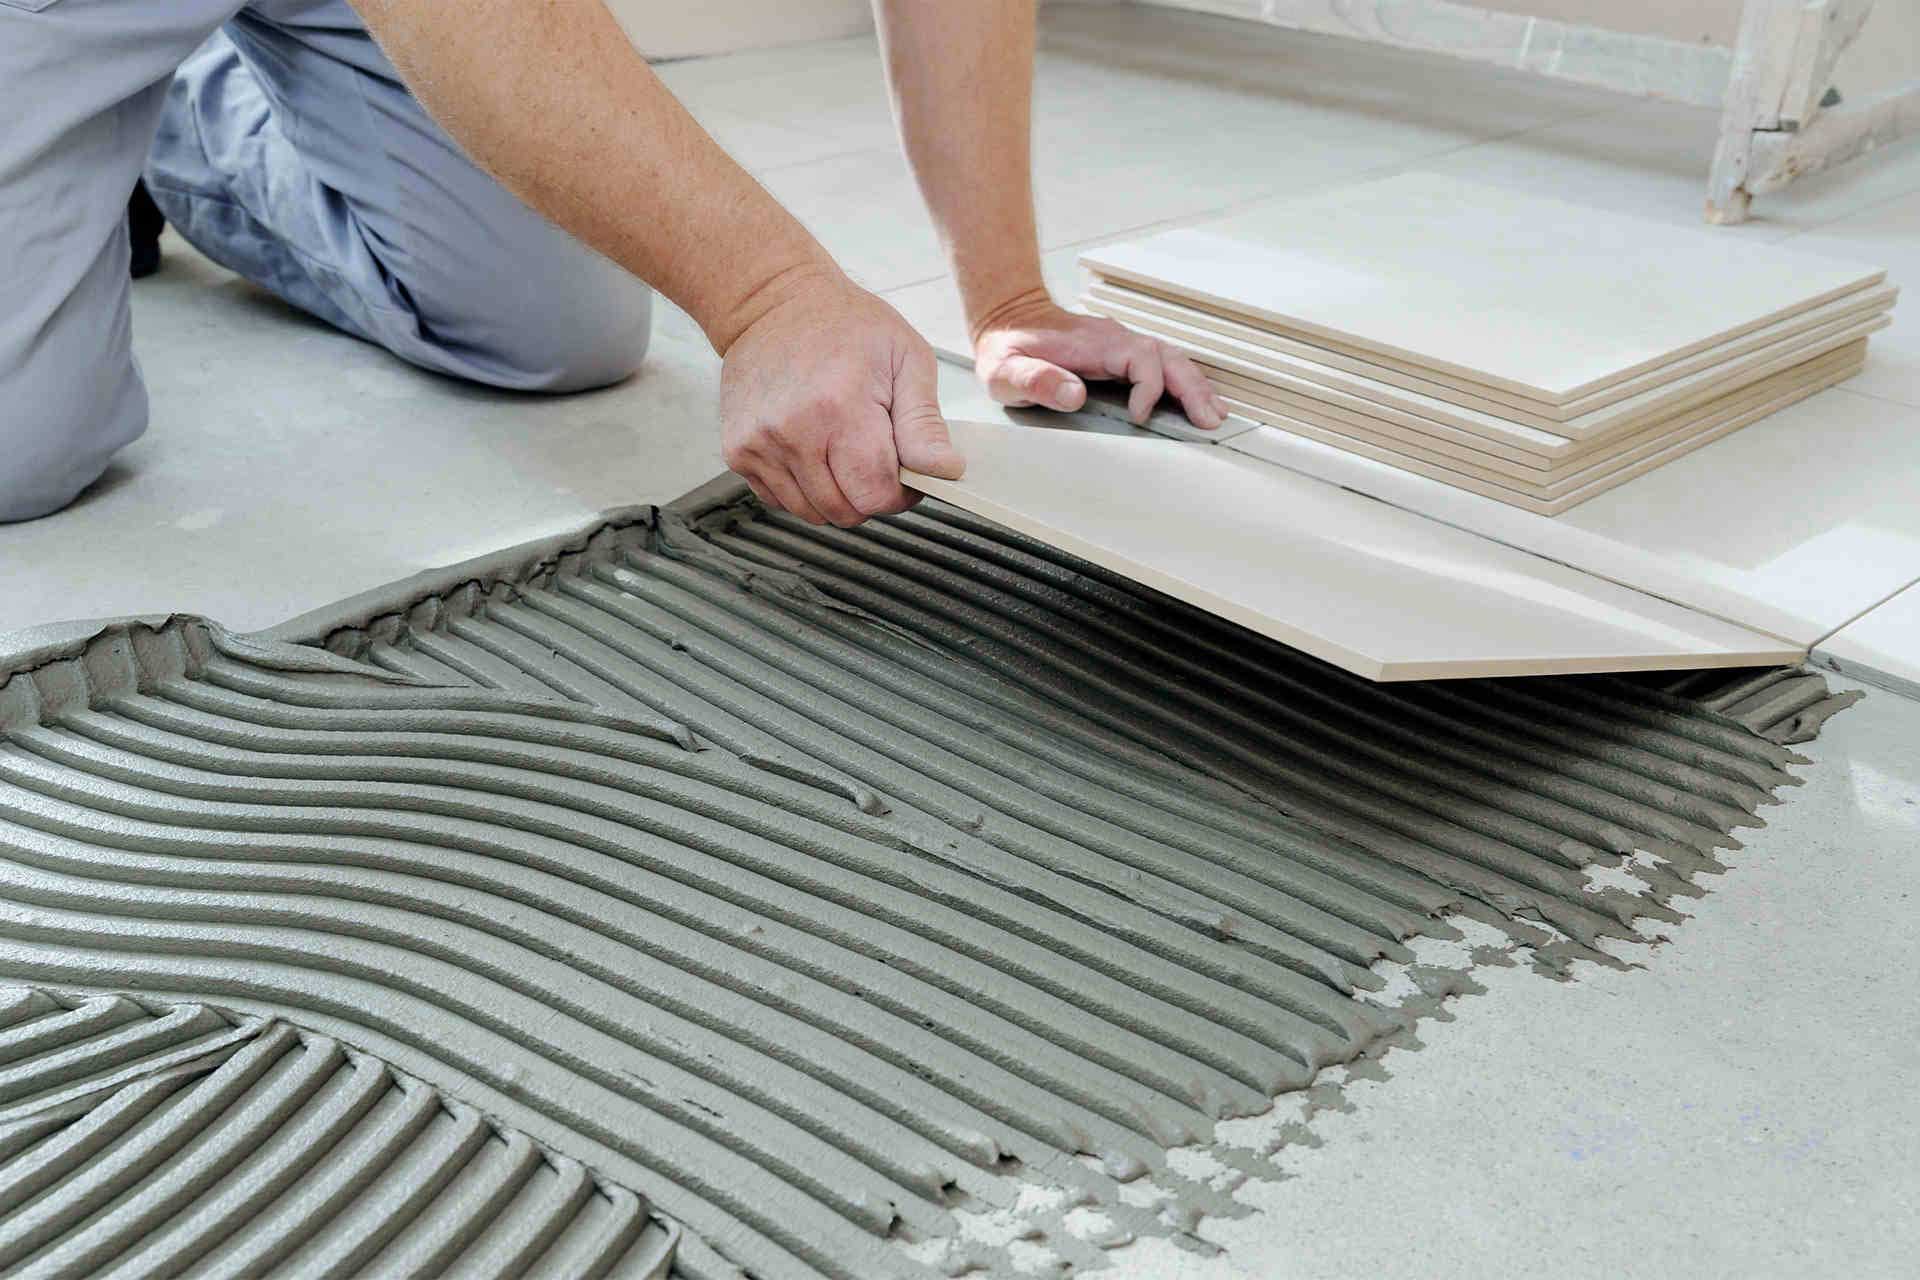
Whether you’re using ready-made adhesive or need to mix it up yourself, once you have the perfect consistency (which should be like a thick paste) you’ll be ready to apply your tiles to the wall.
Work carefully and apply a small amount of adhesive at a time, 1 square metre is a good estimate. This means that it doesn’t matter too much if you make a mistake because you’ve only covered a small area.
Apply the adhesive using your notched trowel making sure you’ve got an even spread. Then run through the notched trowel horizontally at a 45° angle. Place your tiles carefully, using a spirit level to make sure they’re straight.
Do one tile at a time and place a tile spacer in between each one. Remember to fully push each spacer in so they don’t become a nuisance once you start grouting.
Step 5: Time to grout
We recommend waiting at least 24 hours until you start grouting. Prepare your grout by mixing it with water in a bucket. Once again, it should be the consistency of a thick paste. Always make sure to read the instructions on the back of the packaging for correct guidance.
Start applying your grout in the spaces between your tiles using your grout float. Hold it at an angle and use it to make sure you get in all of the crevices between the tiles.
Clean up the excess grout every 2-3 square metres to make sure you can still see what you’re doing. Once finished, leave the grout to dry for at least an hour before polishing your tiles with a cloth.
Step back and admire your handy work!
Bathroom tiling for beginners and DIY bathroom tiling
If you’re a complete beginner at tiling, here are a few top tips to make it a little easier…
- Buy more tiles than you need. The standard is to purchase 10% more tiles than you actually need to allow for breakages and measuring mistakes
- Don’t just measure once. Be sure to measure two or three times to make sure you’ve got it right before you cut your tiles
- Start in the middle and work your way out
- Using spacers will make sure that your gaps are even when it comes to grouting. You can choose what thickness you’d prefer to suit your project
- Don’t rush. If you’re a total beginner, it’s important to take your time and go through each point step by step
Can’t get the hang of it? Tiling is a skill that takes years to master. For best results, we always recommend hiring a professional.
How to tile a bathroom floor for beginners
The principles of tiling a bathroom floor are the same as tiling a bathroom wall however the main difference is that you have to make sure the subfloor is totally level.
The best way to do this is to pour levelling compound over the floor before laying any tiles. Use a trowel to carefully spread it to the corners of the room and it will even out your bathroom floor, giving you the perfect base for tiles.
Leave it to set for 24 hours before tiling. Once you’ve finished applying your tiles be sure to use a silicone sealant around the edges to seal it.
How to retile a shower
If the tiles in your shower are looking a little tired and could do with a refresh, you could retile your shower yourself by following the steps below.
Step 1: Remove your existing tiles
Use a hammer and chisel to remove your existing tiles. Take care not to damage the wall behind when you’re doing this.
Step 2: Make sure the area is suitable for tiling
If there is still some remaining mortar, carefully remove it and clean up the area.
Step 3: Apply your tiles and grout
As explained above, apply your tiles using adhesive. Once all tiles have been applied and left for 24 hours, use your chosen grout to finish off your retiling project.
Step 4: Seal
Seal your shower with a bathroom sealant and it should look as good as new.
For best results, we always recommend hiring a professional.
Find and book your trade with us and we'll guarantee their work up to £1,000*.
Guaranteed for 12 months. Eligibility and T&Cs apply

No comments yet!